")
Today, I’m excited to walk you through one of our coolest tools: Material Swap. If you’ve ever wondered what your space would look like with different flooring, new fabric on the couch, or updated countertops, this tool has you covered. Material Swap makes it super easy to play around with different materials and finishes, letting you instantly see how those changes would look in your space.
In today’s article, I’ll break down what the Material Swap tool is all about, how it works, and who it’s perfect for. I’ll also give you a simple step-by-step guide on how to use it and some tips to help you get the best results.
Introducing the Material Swap Tool
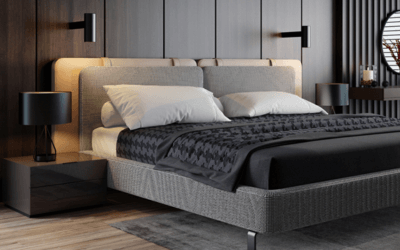
The Material Swap tool allows users to refresh their interiors by changing the materials of various elements within a room. Whether you want to try out new flooring, change the fabric on a sofa, or update your countertops, this tool offers a quick and efficient way to visualize the results before making any real-life changes. With just a few clicks, you can apply new materials and finishes to any object in your space, enabling you to see how different textures, colors, and materials work together in your design.

What the Material Swap Tool Can Do
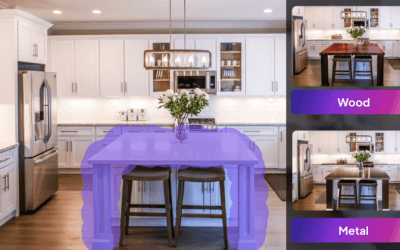
The Material Swap tool focuses on providing users with the ability to customize the material of individual objects in their space. This allows for greater flexibility in experimenting with various materials and finishes, offering a realistic preview of how the new materials will look in your design.
Key Capabilities:
- Material Customization: Change the material of various items, such as furniture, flooring, countertops, and more.
- Presets and Custom Options: Choose from an extensive library of material presets, use our material picker to select specific textures, or upload your own custom material.
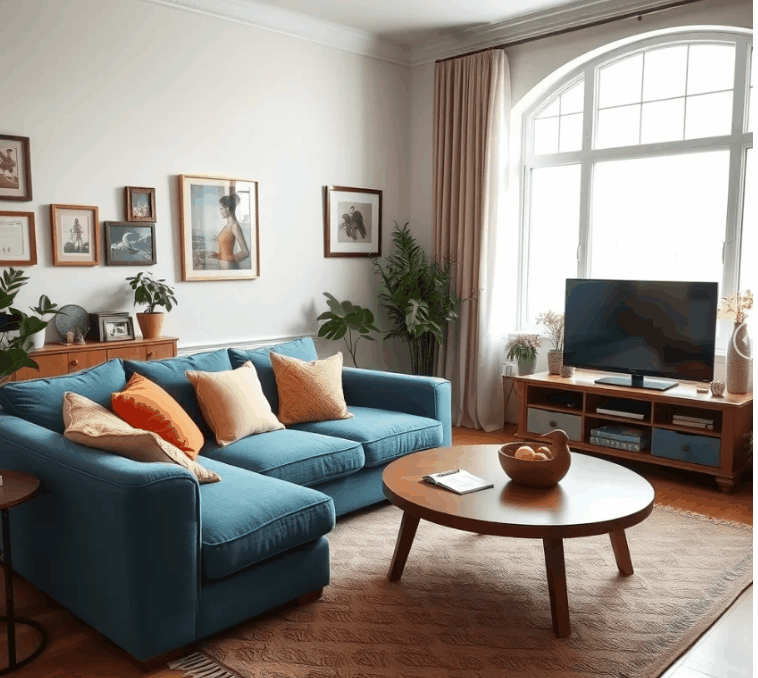
- Realistic Visualization: Get a realistic preview of how new materials will look on the selected item, helping you make informed design decisions.
Who is the Material Swap Tool For?
The Material Swap tool is perfect for anyone looking to refresh their space with new materials, whether it’s for a small update or a larger design overhaul. Here are some key user groups:
- Homeowners: Ideal for refreshing the look of interiors, such as testing different flooring or countertop materials.
- Interior Designers: Enables experimenting with different material schemes for client projects, allowing for better visualization.
- Realtors: A great way to enhance property photos by updating key items with modern materials to increase appeal.
- Architects: Useful for visualizing material choices within building interiors.
- DIY Enthusiasts: Perfect for experimenting with different materials before committing to a renovation project.
- Furniture Retailers and Developers: Allows for showcasing different material options to potential buyers or customers.
How to Use the Material Swap Tool
Using the Material Swap tool is straightforward and user-friendly. Here’s a step-by-step guide to help you get started:
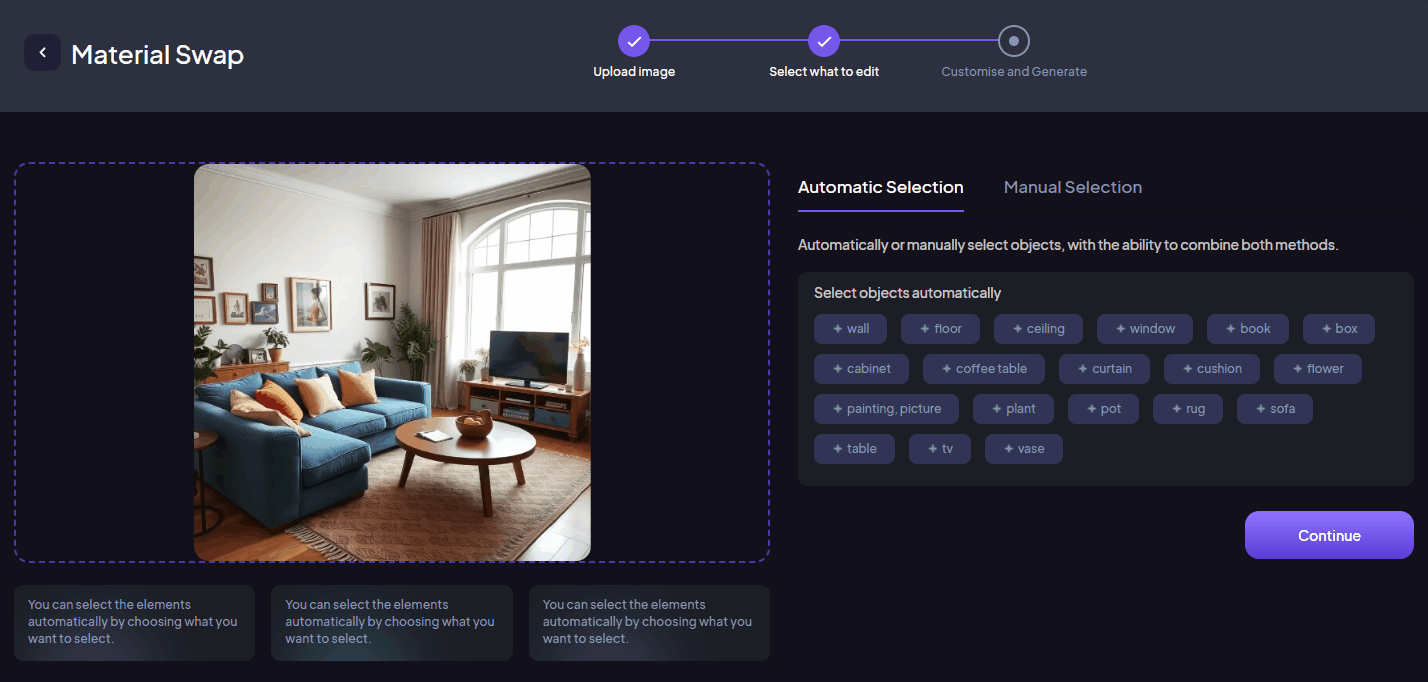
- Upload Source Image: Start by uploading a clear, high-quality image of the room or space where you want to change the material of an item. Well-lit images yield the best results.
- Select the Items: Once the image is uploaded, use the automatic or manual selection tool to select the items you want to change. These could be pieces of furniture, flooring, or any other decor elements.
- Upload Your Custom Material: Next, upload an image of your desired material. You can experiment with a variety of textures, such as wood, metal, fabric, or stone, to match your vision. The tool supports customization, allowing you to apply any material that fits your design needs.
- Generate New Designs: Once the items and materials are selected, click Generate New Designs to see the new material applied to the selected items in your space. The tool will provide a realistic preview of how the materials look together.

Tips and Tricks
To get the most out of the Material Swap tool, here are some helpful tips:
- High-Quality Images: Use well-lit, high-quality images for the best results. Clear images allow the AI to accurately identify and update materials.
- Manual and Automatic Selection: While the automated selection process is quick, fine-tune your selection with the manual brush for more precision.
- Experiment with Materials: Explore different material presets before uploading custom materials to see various potential looks for your space.
- Detailed Preferences: Use the ‘Additional Instructions’ menu to specify particular preferences and details for more customized results.
- Improve Resolution: Use the HD button to enhance the clarity of the material swap in your space, ensuring a more professional and polished final design.
The Finishing Touch
The Material Swap tool is a powerful and easy-to-use feature that allows you to explore a variety of material options for your interiors. By visualizing different finishes and textures, you can find the perfect combination that aligns with your design goals. Whether you’re a homeowner looking to refresh your space, an interior designer working on client projects, or an architect exploring material choices, this tool simplifies the material selection process and helps you bring your vision to life.
If you’re curious to discover more of what we offer, be sure to check out our latest article here.